How to Bulk Update Data
When you want to make bulk changes to data in BrewMan, it can be more effective and quicker to download the data into a spreadsheet, make the changes there and then Import it back into BrewMan. For example, you may want to make changes to all your Outlets or Products at once.
If you instead want to import new data into the system, please follow this guide, 5: Importing Data
You can Bulk Update via csv for the following sets of data between BrewMan and Microsoft Excel.
Ageing Casks
Leads
Materials
Outlet contacts
Outlet group contacts
Outlet Groups
Outlet/Outlet Group Codes
Outlets
Price List entries
Products GL codes
Products
Stock Availability and Reordering
Suppliers/Manufacturers
New Bulk Data Update
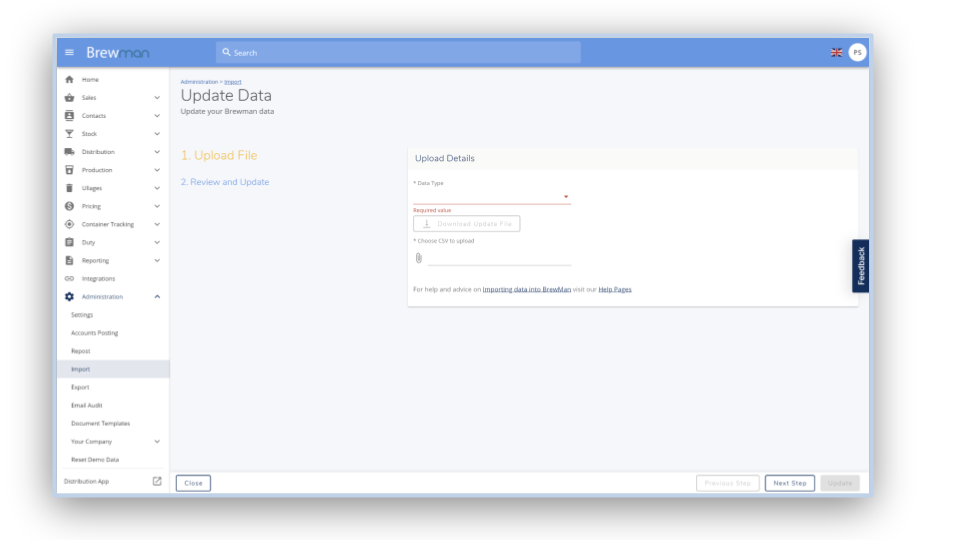
Go to Administration → Import.
Select New Bulk Data Update at the bottom of the screen.
Select the Data Type from the dropdown and click Download Update File.
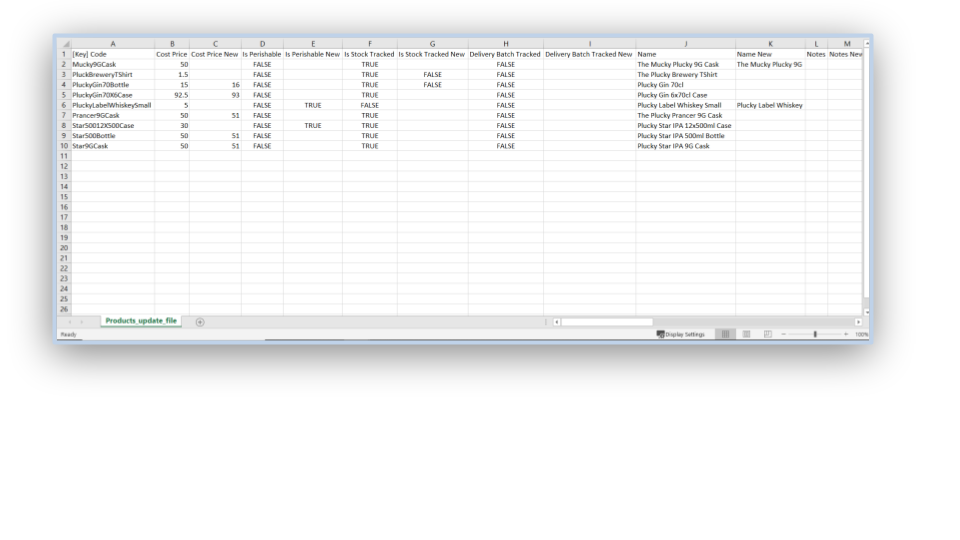
Once downloaded, open the file in Microsoft Excel.

Editing the Data
In the spreadsheet, every field will have a New column next to it. Add any changes you wish to make in the New columns.
If the field is remaining the same, leave it as it is and leave the field in the New column blank.
Save any changes you have made.

Importing the Updated Data
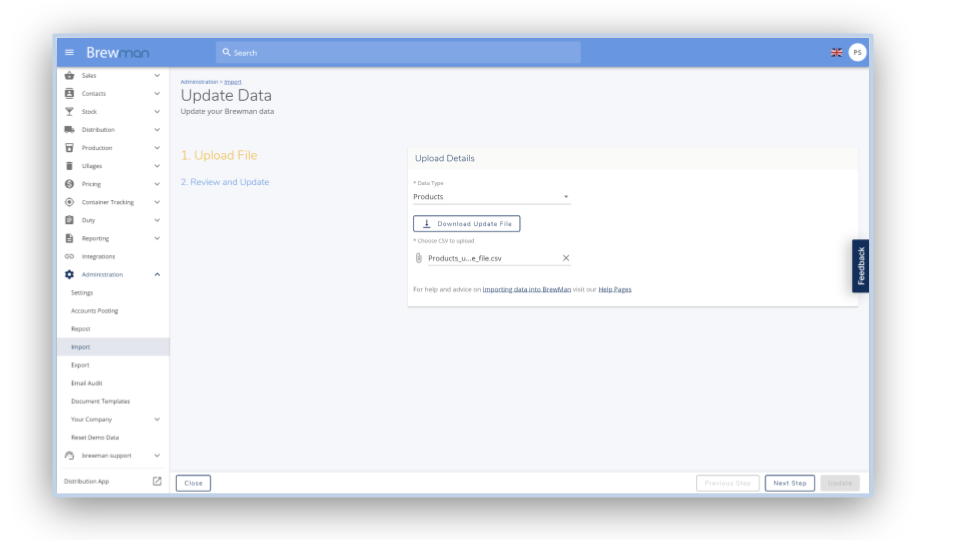
Switch back to the update screen in BrewMan.
Click *Choose CSV to upload and select the updated Excel file.
Click Next Step.

Confirming the Update
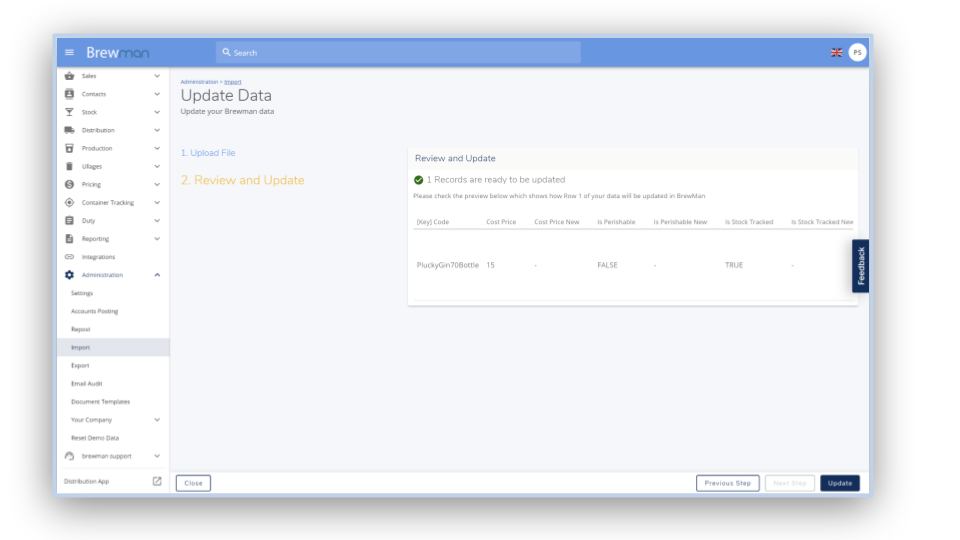
The system will then show you a preview of Row 1 of your data if everything is in the right format.
If there are any errors in the file, such as name clashes or setting clashes, BrewMan will highlight these. Before you can import the data, these errors will need to be resolved and the file uploaded again. Once all errors have been resolved, click Update in the bottom right.
After successfully updating, the system will confirm this with a pop up message. You will then have a record listed in the Import menu.

Was this helpful?
Comments
You must be logged in to comment in this article.
Login to comment