
Once you have the above go to Integrations > Eebria and click Activate.
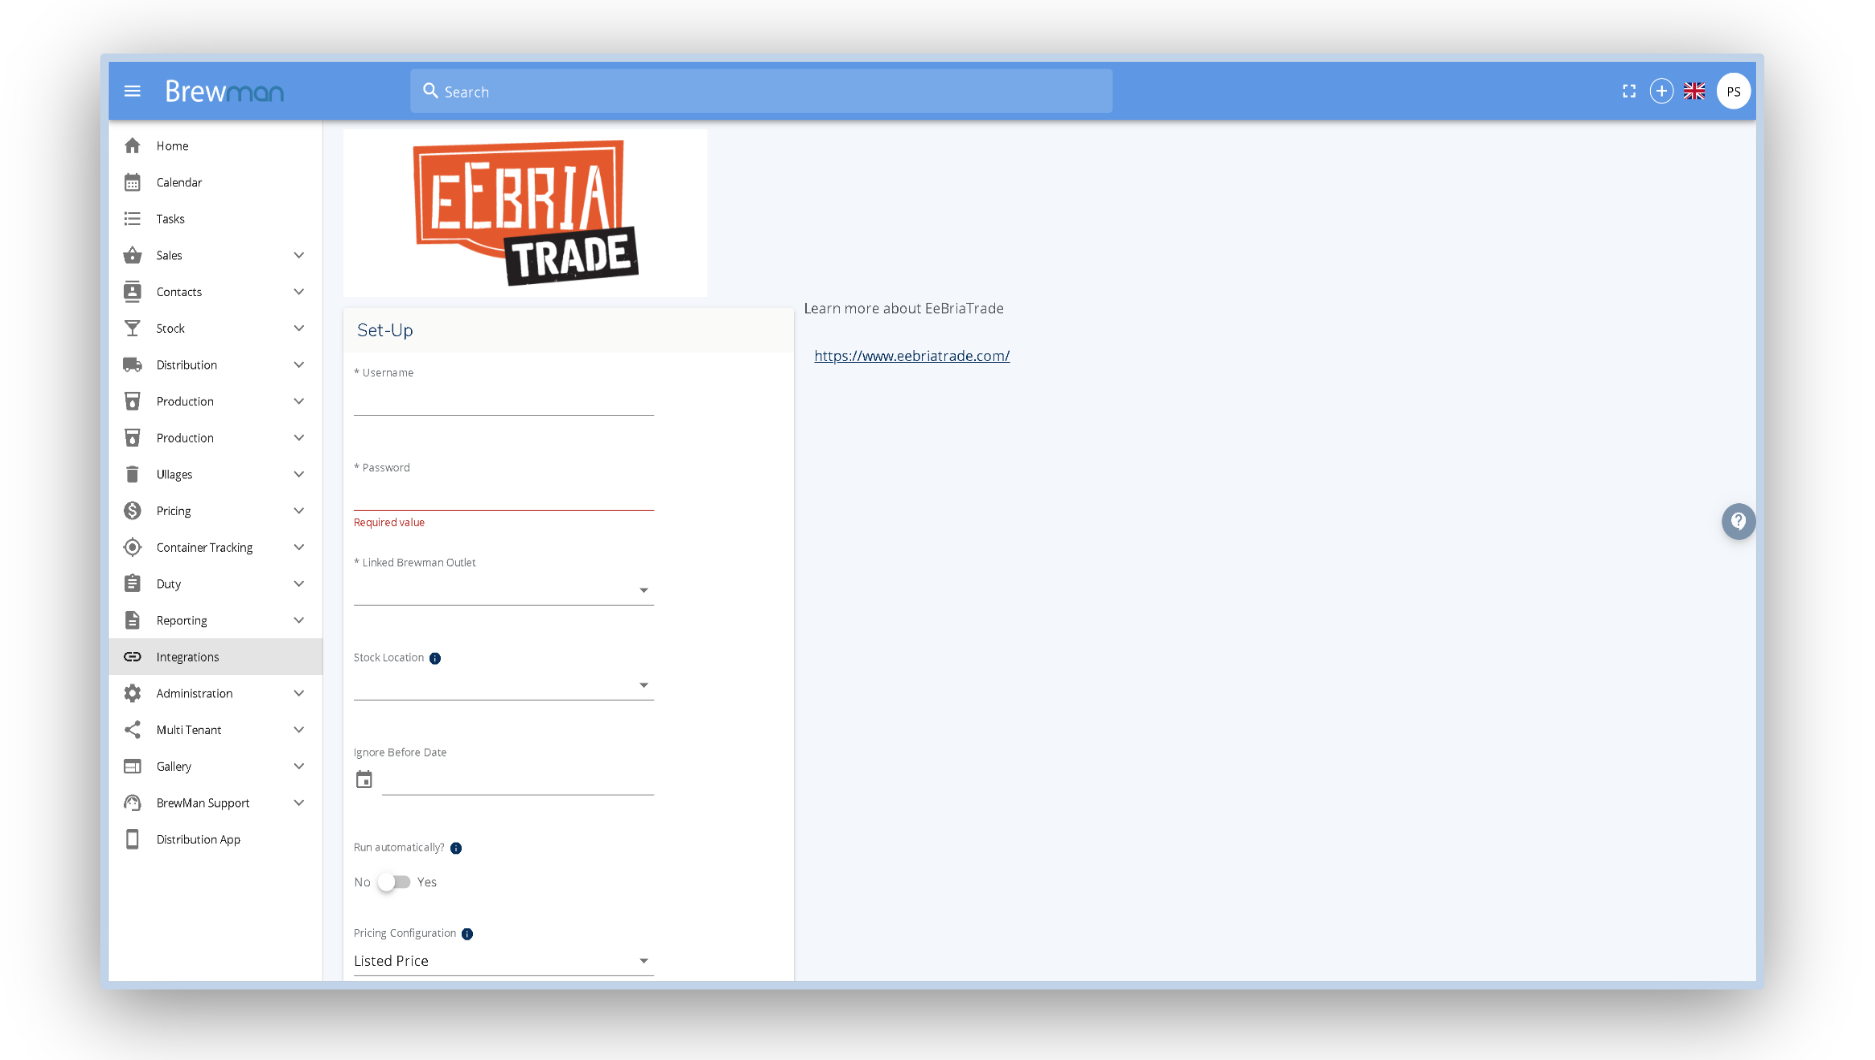
Username - The details supplied to you by Eebria (This will be a different login to your normal Eebria account).
Password - The details supplied to you by Eebria (This will be a different login to your normal Eebria account).
Linked BrewMan Outlet - The outlet in which you want orders to be placed against on the BrewMan system and when posting to accounts.
Stock Location - Assign a stock location if you wish for BrewMan’s stock to update your live Eebria stock. Leave this blank if you would prefer to handle stock in Eebria manually.
Ignore Before Date - Set a date that you do not want to bring orders into BrewMan from Eebria.
Run Automatically - Toggle this to yes if you want BrewMan to automatically grab the Eebria orders when they are ready. Keep this as no if you would prefer to import these manually.
Pricing Configuration - How you would like to bring the order prices into BrewMan. Listed price will be the price the customer pays whereas received price will be the money you receive after Eebria takes their fees.
Once settings are complete you will need to map your products to a product in BrewMan. This is done by going to Integrations > Eebria > scroll to the bottom and unfurl the drop down for “Map Eebria Product to BrewMan Stock Item”
Was this helpful?
Comments
You must be logged in to comment in this article.
Login to comment