You will need to make sure you have the correct pallet sizes, the default pallets can be found by going Administration → Settings → Other → Pallet Types.
Click Create Pallet Type if needed, add a Pallet Name, Weight and choose if it will be the Default Pallet Type.
Once an order is created, you can begin to create pallets by clicking into the order and then click More → Create Pallet for Order.
Alternatively, you can create a Pallet within Distribution → Pallets and assign it to the Order.
When creating a pallet, edit the Pallet Type and Empty Weight if needed.
You can then begin to add/scan items to the pallet(s).
When adding products to a pallet, if the item is Delivery Batch Tracked you will need to add the product’s Batch Number.
If the Package Type of the product is Returnable, the products permanent label will need to be scanned out using a scanner or a mobile phone.
Once you have saved the initial Pallet, you will be able to create more Pallets for the same Order if needed.
Once all items have been palletised, print a Pallet Label for each pallet and stick it to the outside, ready to be scanned on the day of distribution.
Pallets will be in a separate area of the Picking Lists where it will tell you which pallet to pick. Any other items that are on an order but not on a pallet will show within the loose picking list.
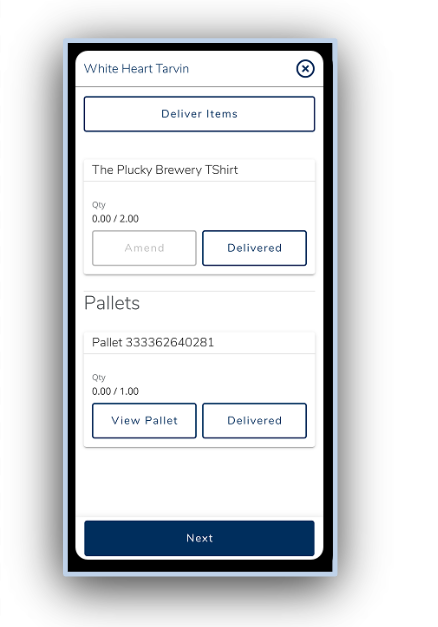
You can then use the Distribution App on a mobile or a scanner to scan the pallet to the customer as seen below:

Was this helpful?
Comments
You must be logged in to comment in this article.
Login to comment