
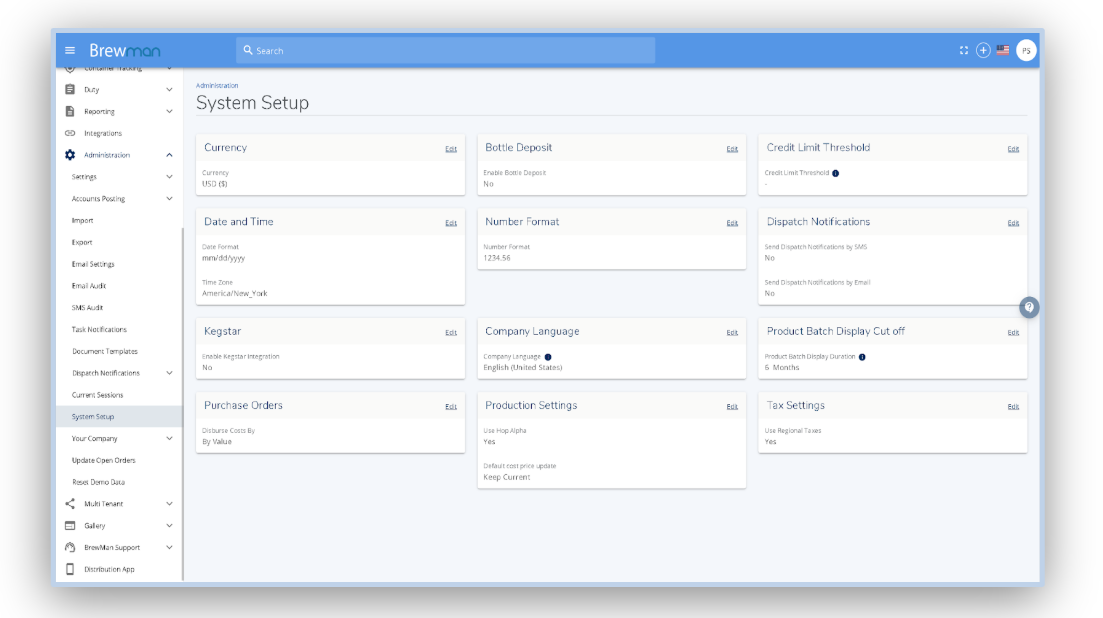
To create regional taxes you must first enable the option, to do this go to Administration → System Setup → and enable Tax Regions.
Now go to Administration → Settings → Other → Regional Taxes → Create Regional Tax.
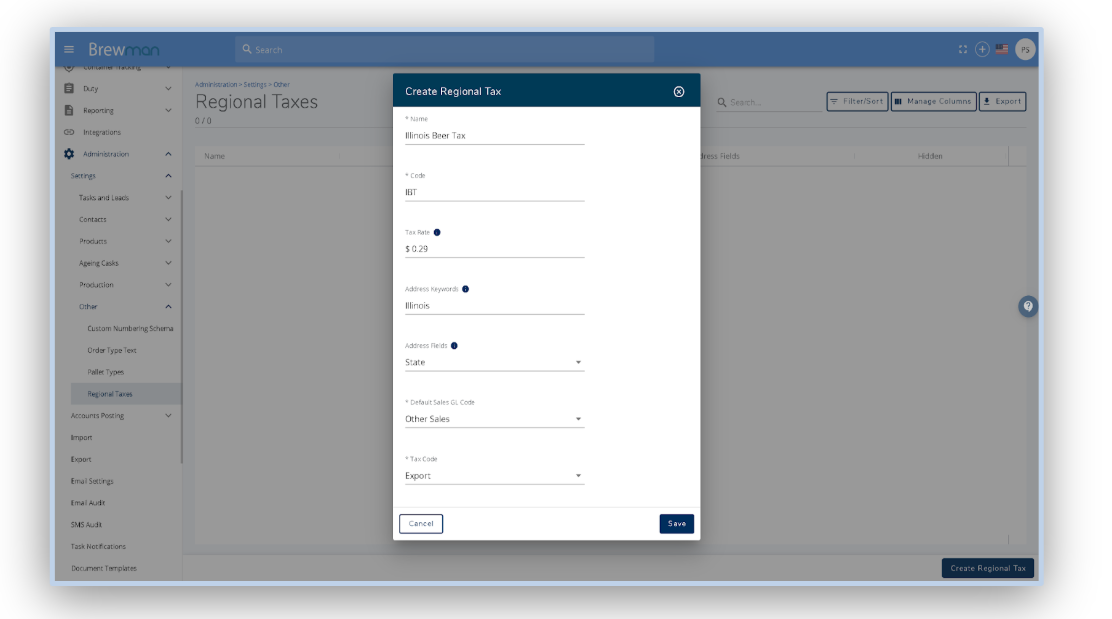
Fill out the following fields:
Name - The name you wish this regional tax code to use (this will populate on the outlet where necessary).
Code - The code that you want this regional tax to be associated with for posting to accounts.
Tax Rate - The tax rate that needs to be applied.
Address Keywords - The word that BrewMan should use to identify if this regional tax should be applied.
Address Fields - The address field in BrewMan that the keyword should be found in to allocate this regional tax amount.
Default Sales GL Code - The sales GL code used for posting to accounts.
Tax Code - The tax code used for posting to accounts.
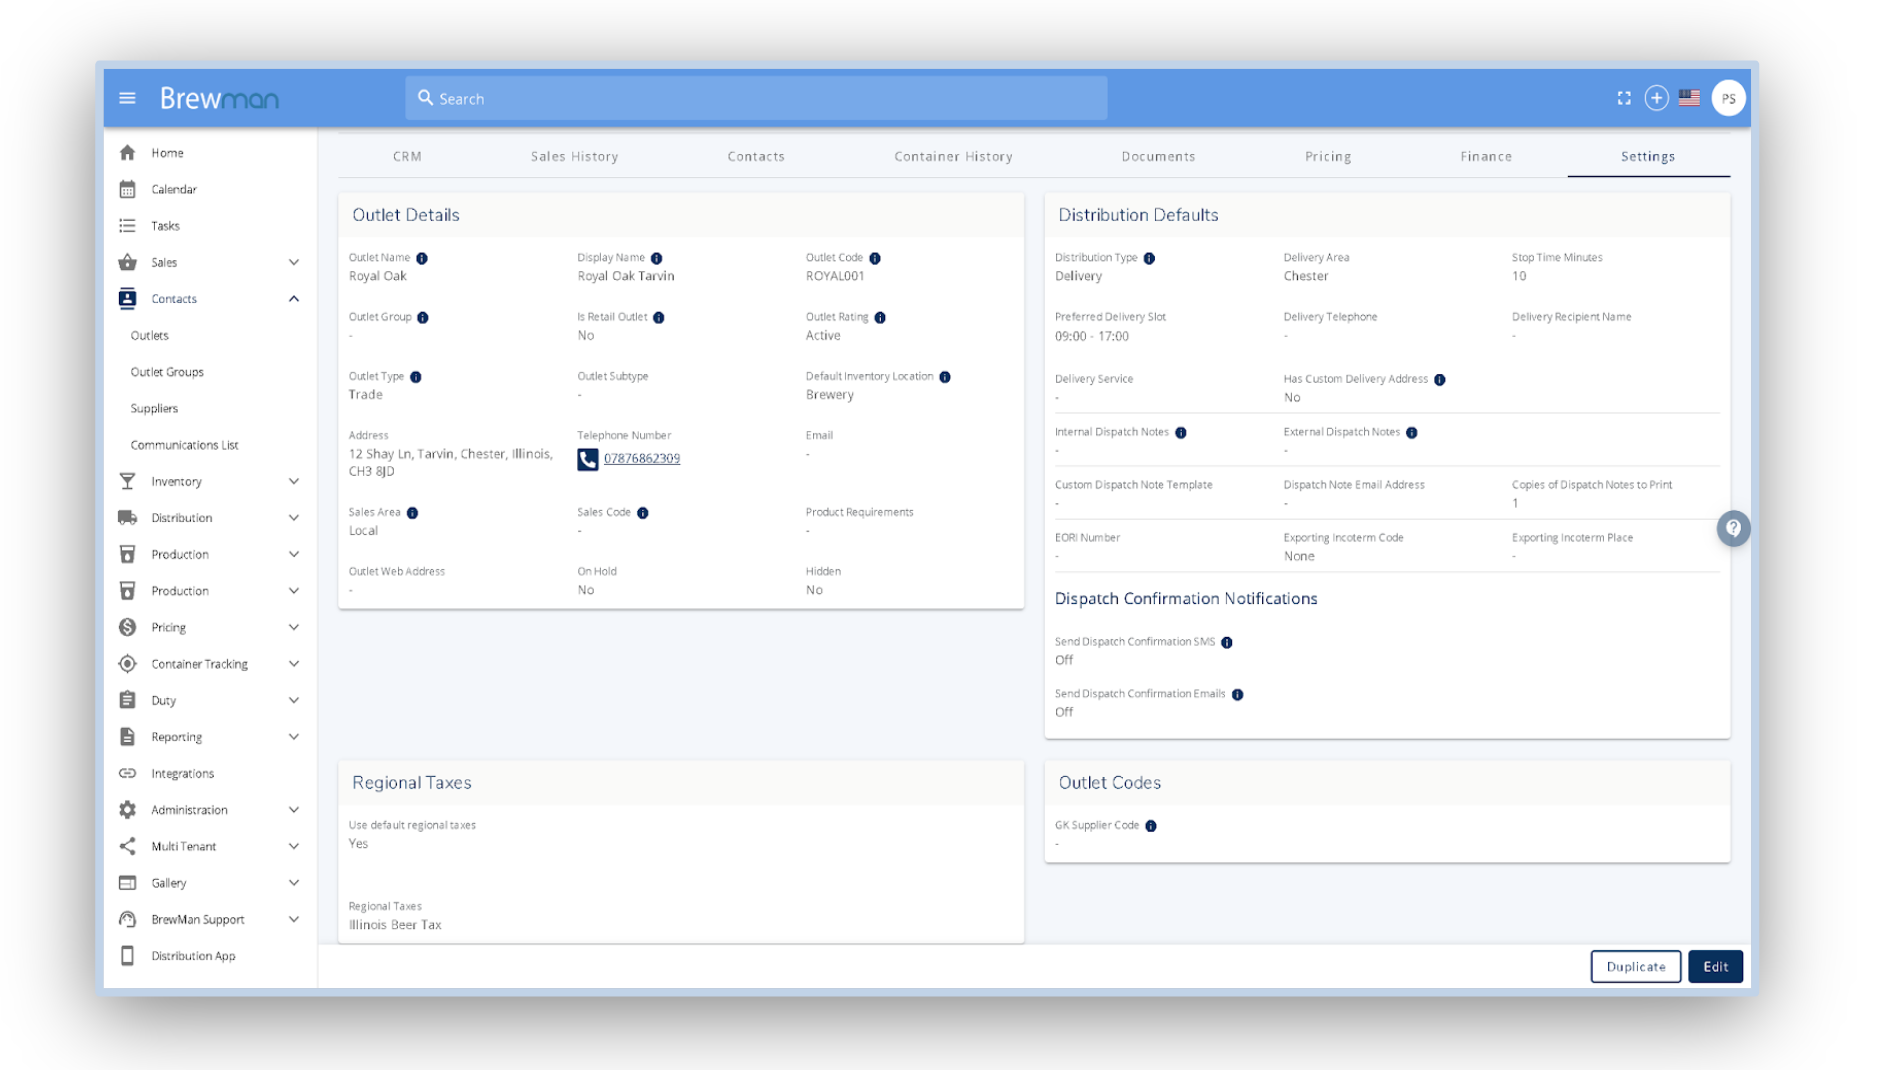
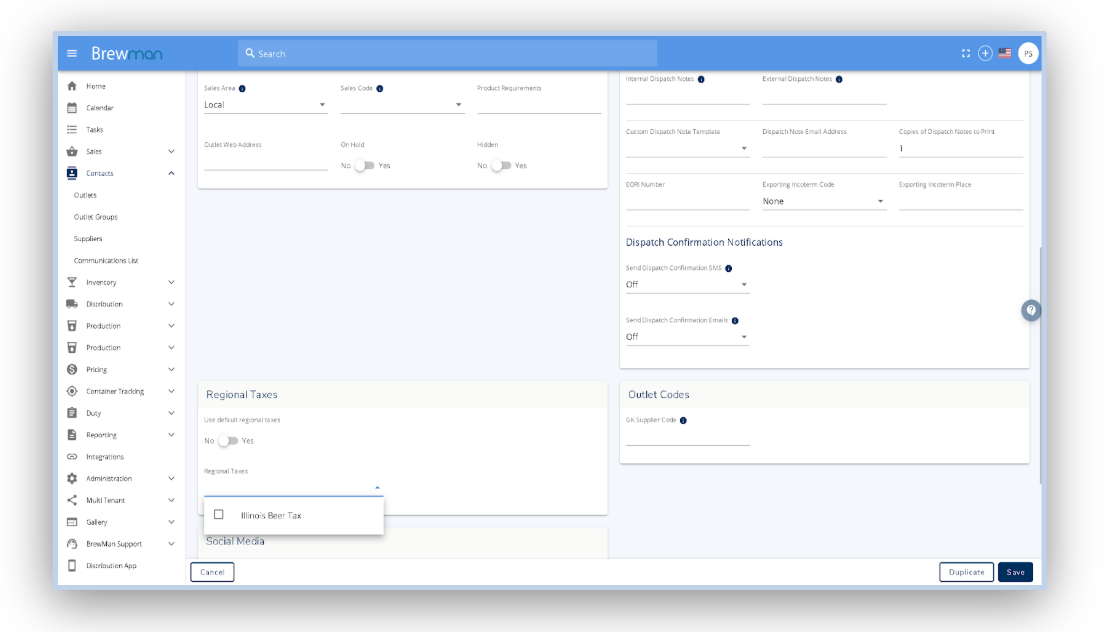
If you want to manually assign these region taxes, click edit on the settings tab of the outlet and toggle the “use default regional taxes” field to no.
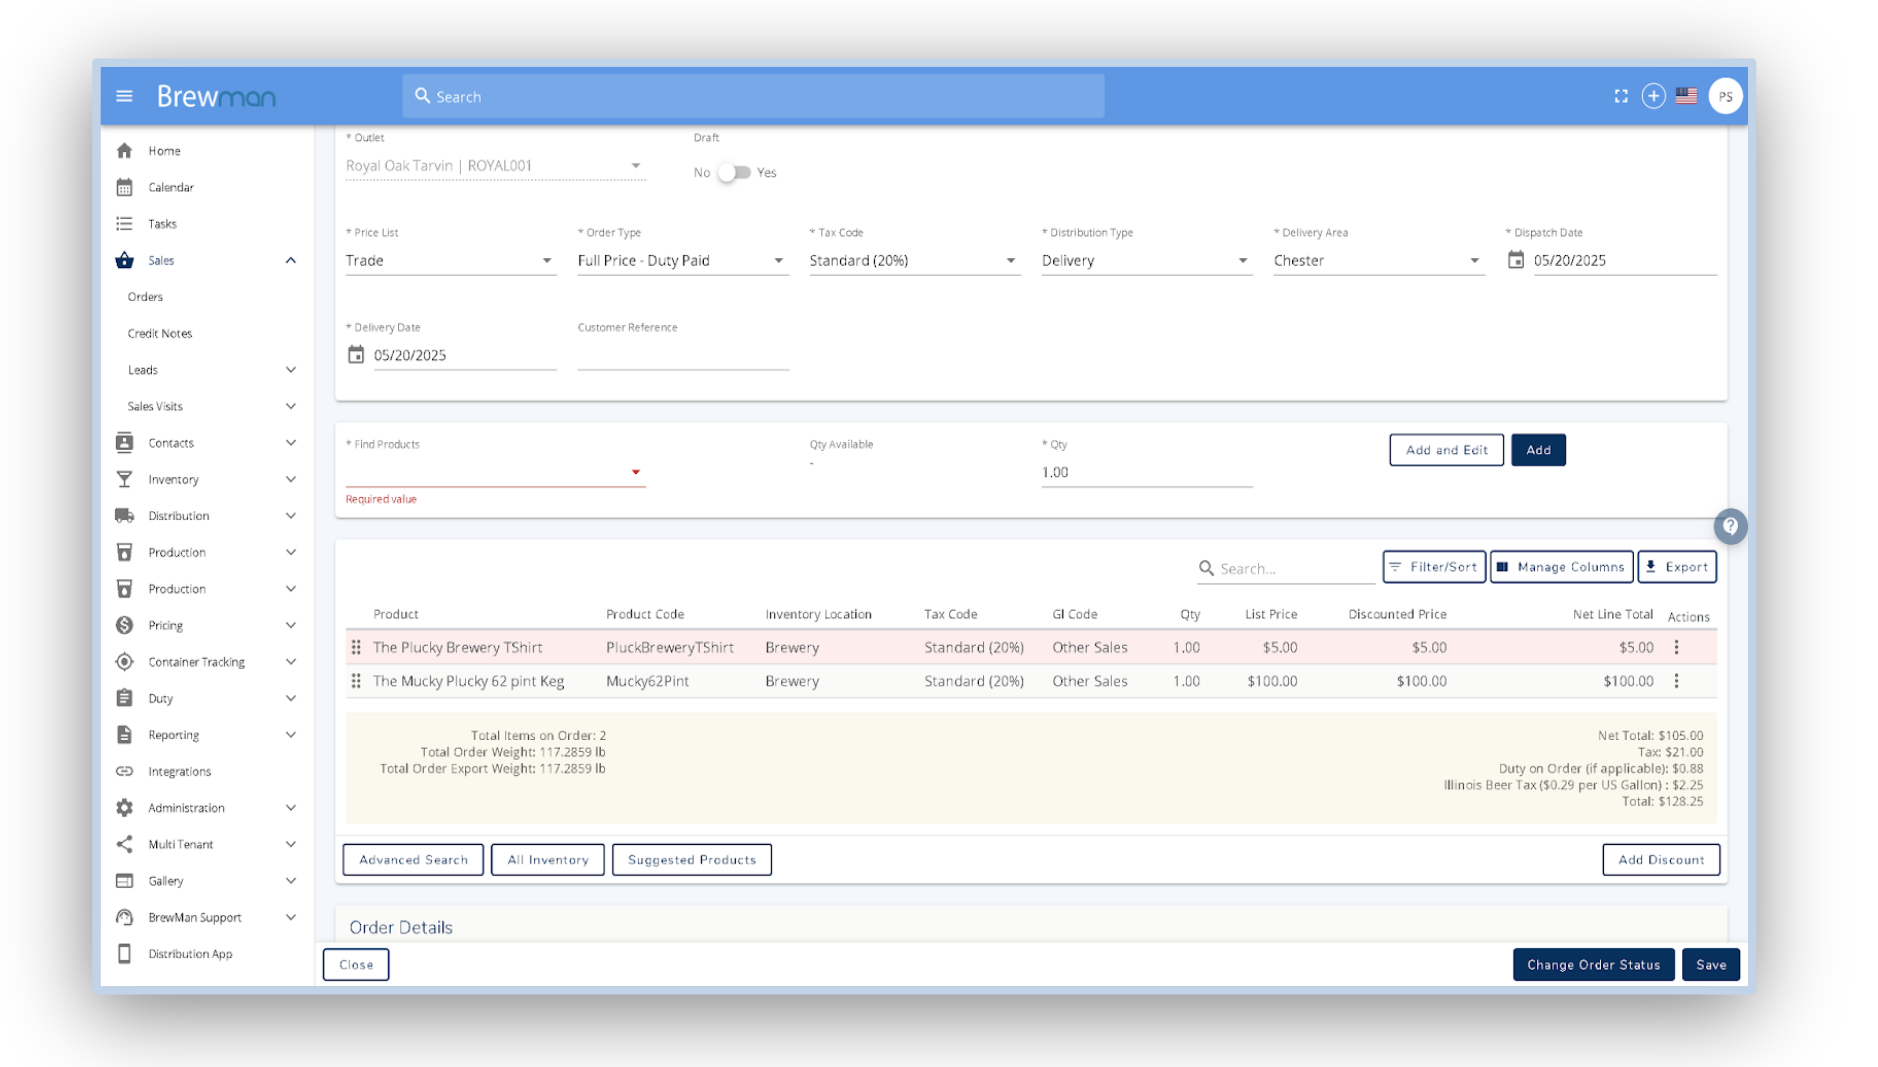
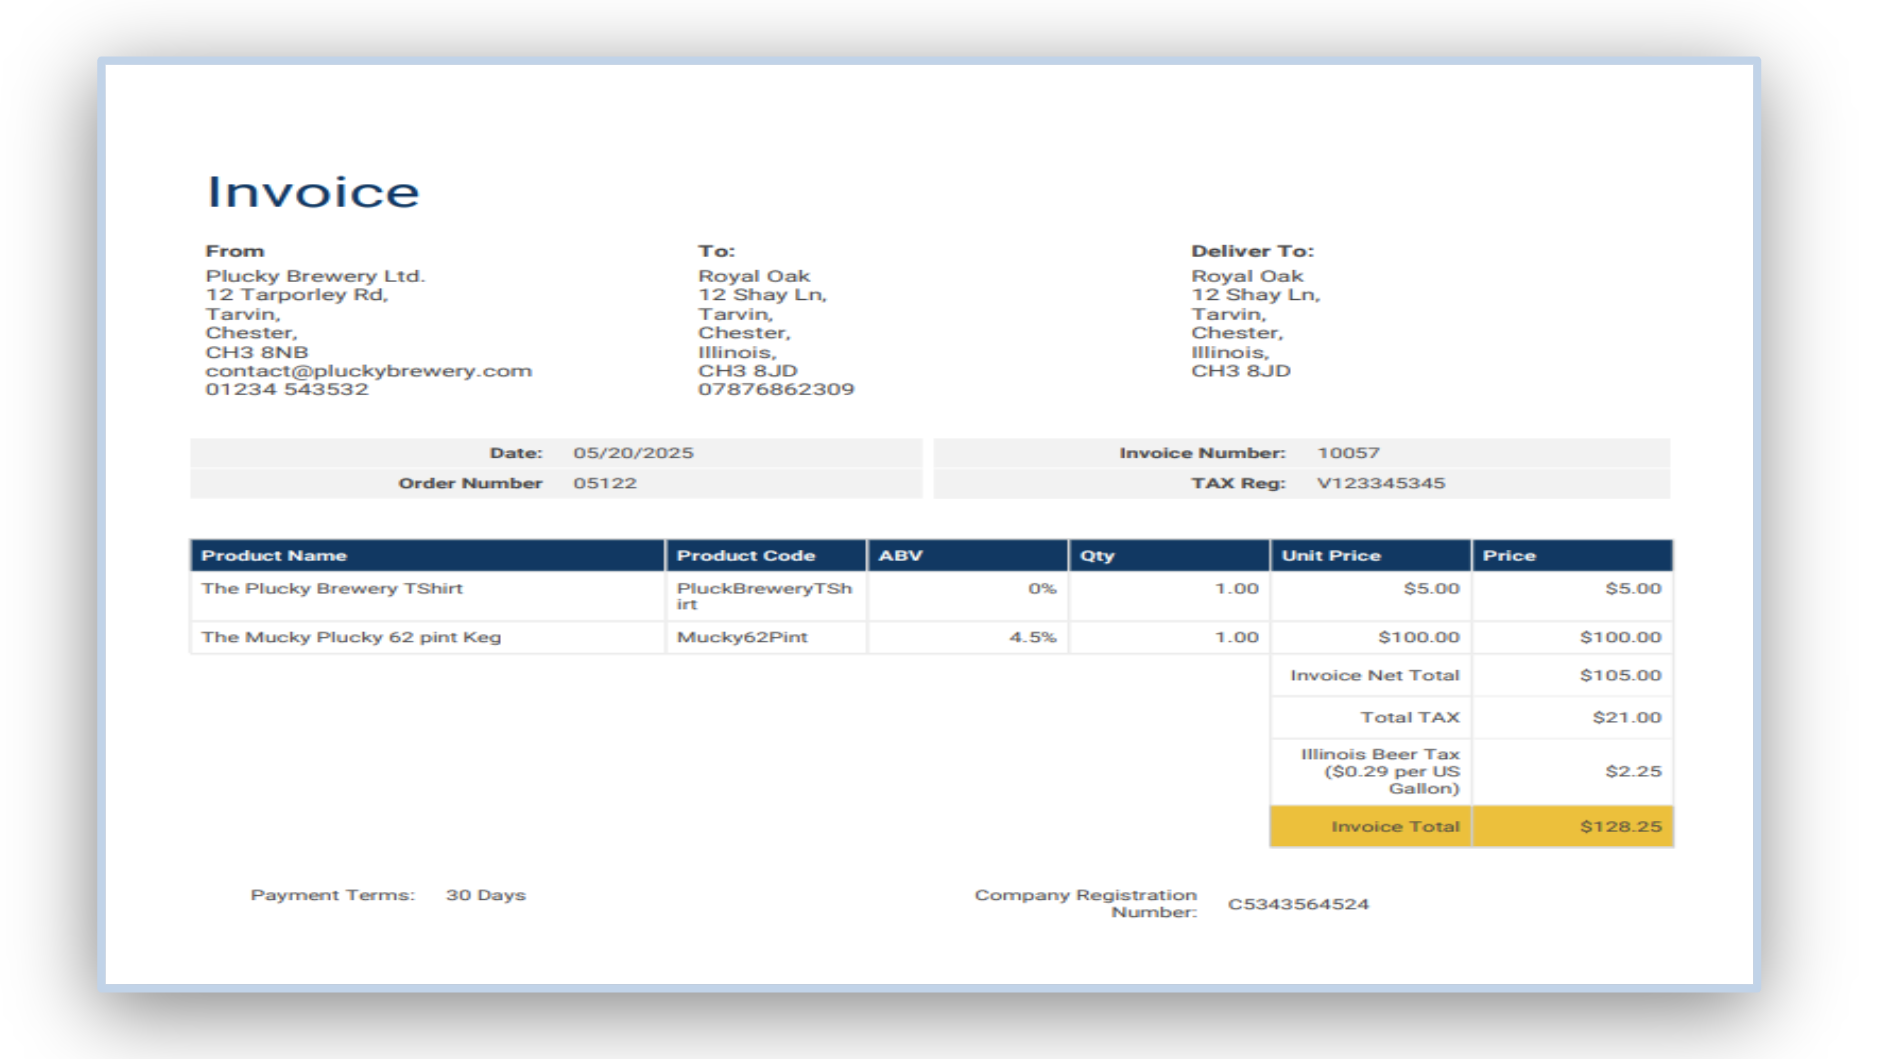
When creating orders you will now see an additional tax field for the regional taxes you have set up.
If there are no items in this order that would incur tax then this additional field will not show, instead it will only populate once this field contains $0.01 or more.
Was this helpful?
Comments
You must be logged in to comment in this article.
Login to comment