CRM Settings
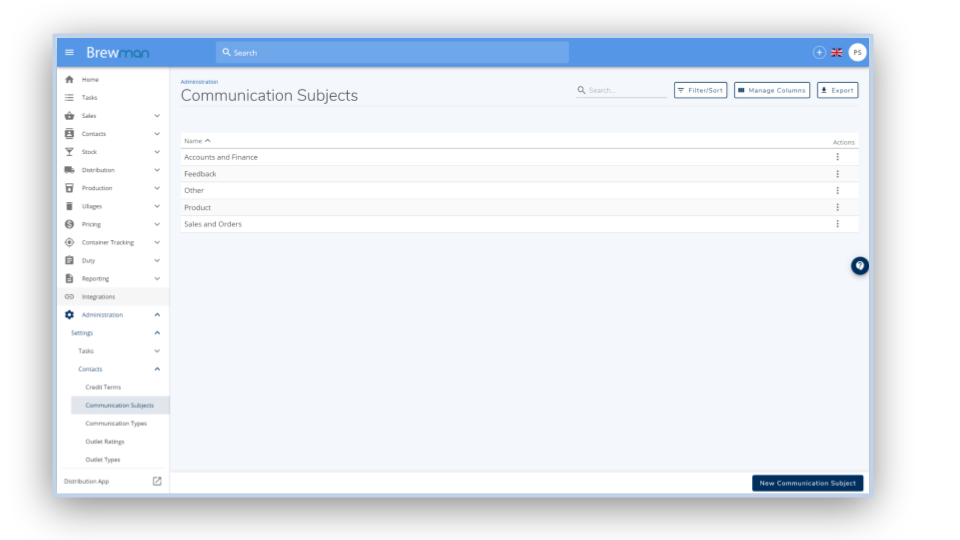
Subjects are used when logging communication with Outlets, allowing them to be quickly categorised by topics. These can be anything you wish, examples might include: "Sales", "Finance", "Feedback", or "Distribution".
Click New Communication Subject in the bottom right and add as many different topics as you wish.
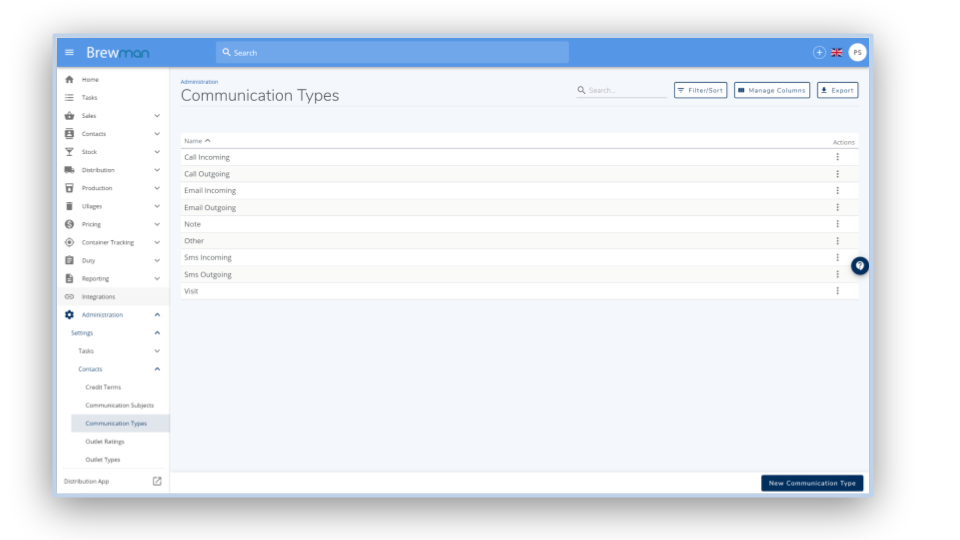
Communication Types are used when logging communication with Outlets, specifying which method of contact was used. Examples might include "SMS", "Email", "Site Visit" or "Incoming Call".
Click New Communication Type in the bottom right and add as many as you wish.
Task Settings
Tasks can be used in the system to remind users to complete actions such as a recurring phone call with a customer, label some containers or carry out a temperature check on a brew. Before using them, you will need to configure some Settings.
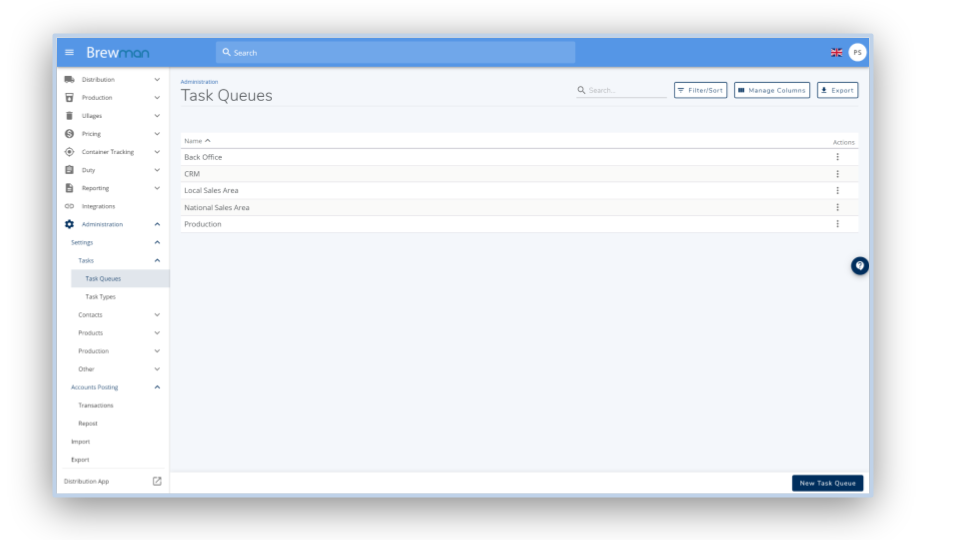
Task Queues are used to filter Tasks between departments or functions. For example you may wish to create Queues for "Production", "CRM", "Back Office", or "Local Sales Area".
Click New Task Queue in the bottom right and enter the names of the Queues you wish to create.
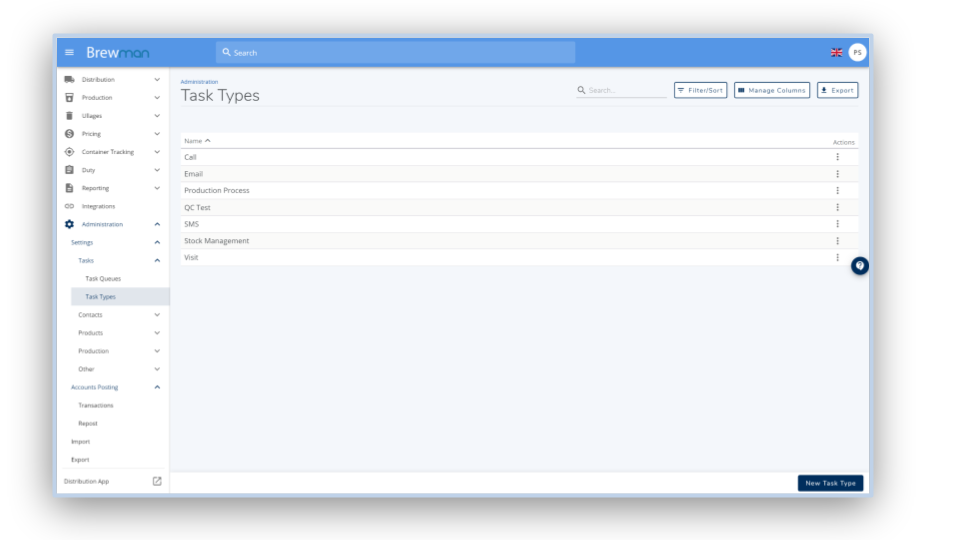
Task Types can be used to categorise and filter Tasks and demonstrate to the user quickly what the task requires. Examples might include "Call", "QC Test", "Visit" or "Email."
Click New Task Type in the bottom right and enter the names of the Types you wish to create.
Lead Settings
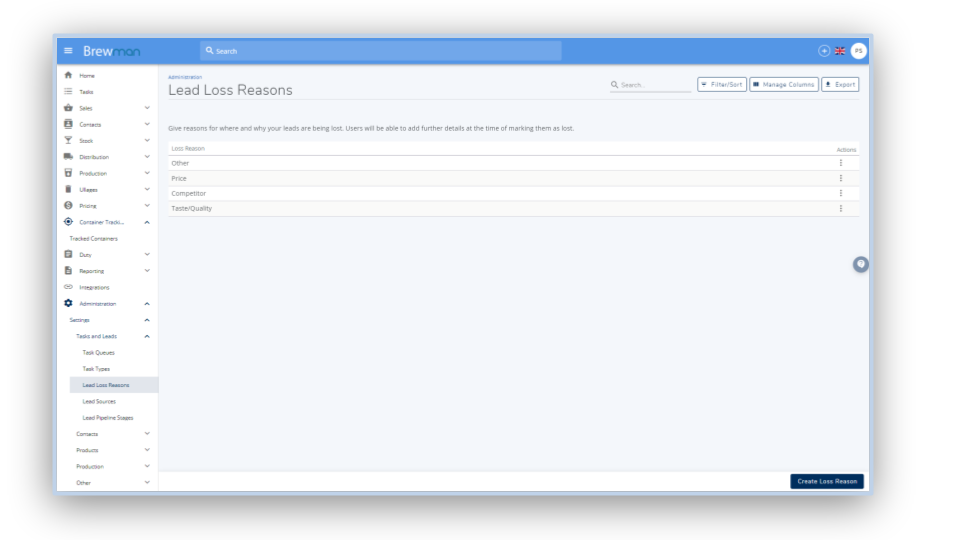
Lead Loss Reasons allow you to tell BrewMan the reason where/why a lead has been lost. You will have the option to add further notes when marking the Lead as Lost.
Click Create Loss Reason in the bottom right and add as many different reasons as you wish.
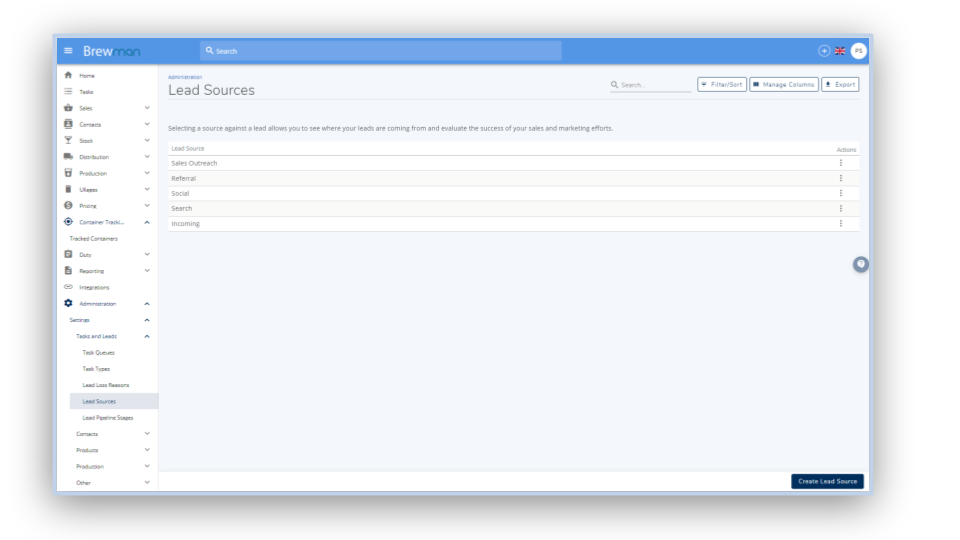
Lead Sources will allow you to see where your Leads are coming from. This can help you evaluate the success of your sales and marketing efforts.
Click Create Lead Source in the bottom right and add all of your sales avenues.
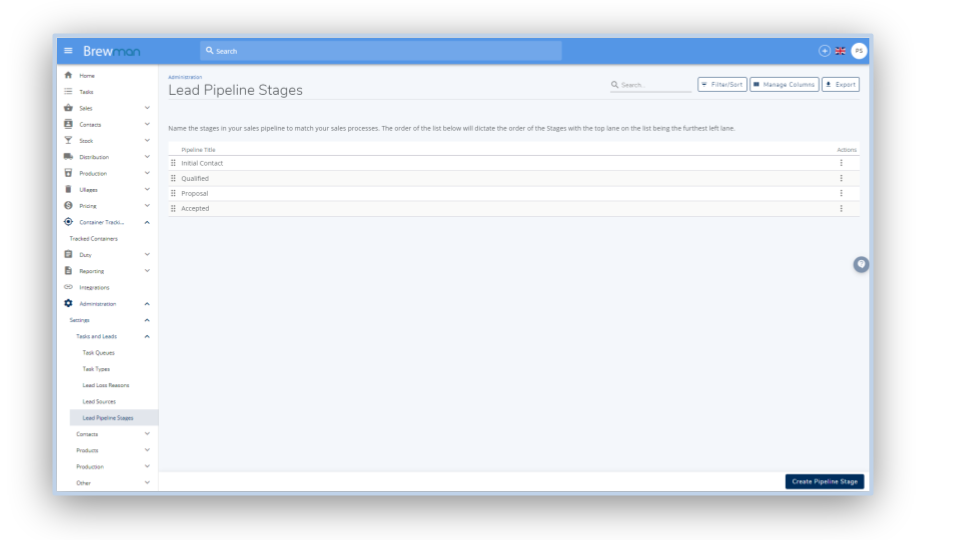
Lead Pipeline Stages will allow you to name the stages in your sales pipeline to match your sales processes. The order of the list will dictate the order of the Stages with the top lane on the list being the furthest left lane.
Click Create Pipeline Stage in the bottom right corner of the screen and enter the pipeline stages you wish to create.
Was this helpful?
Comments
You must be logged in to comment in this article.
Login to comment